


Spending a whole month in Vietnam had always been on my bucket list. From Hanoi to Ho Chi Minh City, I wanted to experience the culture, food, and landscapes without rushing. One thing I knew for sure was that I needed reliable internet for the entire 30 days. Instead of juggling SIM cards or paying expensive roaming fees, I chose a Vietnam eSIM 30-day plan through GoVnSIM. Here’s how it worked out for me.
Buying and Activating the 30-Day eSIM
I purchased the eSIM before leaving home. The process was simple — I picked my start date, paid online, and received a QR code instantly by email. What I liked was that the eSIM would only activate on the date I chose, meaning I could set everything up in advance and not lose any days before arriving in Vietnam.
When I landed in Hanoi, I opened my phone, scanned the QR code under Settings → Cellular → Add eSIM, and within seconds I was connected. No waiting at airport counters, no paperwork.
Week 1 – Settling into Hanoi
My first week was spent in Hanoi. The eSIM was invaluable for ordering Grab cars, using Google Maps to navigate the maze-like Old Quarter, and staying in touch with my Airbnb host. I also used it to receive OTPs from Zalo and local apps without any issues. Having 6GB per day meant I could also stream videos in the evenings without worrying about running out.
Week 2 – Exploring Ha Long Bay and Ninh Binh
In my second week, I took side trips to Ha Long Bay and Ninh Binh. Coverage remained solid in both places. On the Ha Long Bay cruise, I shared photos and even uploaded short clips to Instagram. In Ninh Binh, while cycling between rice paddies and limestone cliffs, I used Google Maps to find small homestays. It was reassuring to know I could always get online, even in areas that felt remote.
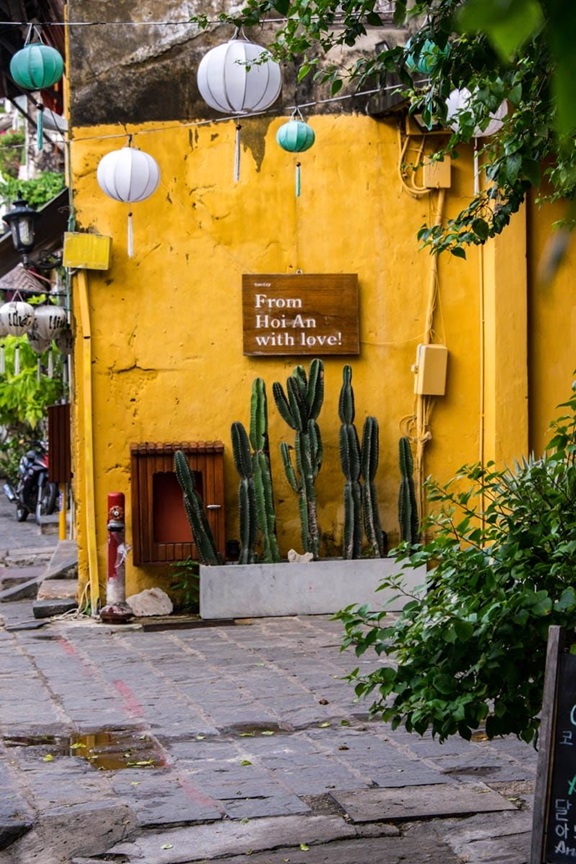
Week 3 – Remote Work in Da Nang and Lanterns in Hoi An
Da Nang was where I really tested the eSIM for work. I spent hours in riverside cafés, tethering my laptop through hotspot. Video calls, file uploads, and streaming background music all worked flawlessly. In the evenings, I went to Hoi An. During the lantern festival, I livestreamed the magical streets for friends back home. The connection didn’t falter once.
Week 4 – Ho Chi Minh City and the Mekong Delta
My final week was spent in Ho Chi Minh City and a short trip to the Mekong Delta. In the city, 5G coverage was fast and stable — I often clocked speeds over 200 Mbps. I relied on the eSIM for GrabFood deliveries, Google Maps in the chaotic traffic, and OTPs for online payments. Even on the Mekong, while cruising past floating markets, I could share stories in real time.
What I Liked About the 30-Day eSIM
✅ Auto-activation on my chosen start date — no wasted days.
✅ 6GB/day was generous; I never hit the limit.
✅ Came with a Vietnamese phone number for OTP and local calls.
✅ Worked reliably in every destination I visited.
Small Downsides
⚠️ Requires an eSIM-compatible device (not all older phones support it).
⚠️ Fair use policy applies — extremely heavy streamers may hit soft limits.
⚠️ Signal could drop to 4G in very rural areas, though it was still usable.
Final Thoughts
Spending a month in Vietnam was unforgettable, and having a reliable eSIM made it all the more enjoyable. I never had to worry about topping up, finding kiosks, or losing connection. From city streets to remote rice fields, I stayed connected and stress-free. For travellers planning a long stay, the Vietnam eSIM 30-day plan is a fantastic option.
I got mine through GoVnSIM, and it worked seamlessly. If you’re considering a month-long trip, check out their 30-day eSIM here: https://govnsim.com/vietnam-esim-30-days/
Prefer a month‑long plan? Vietnam eSIM 30 Days covers what most travelers need.